Showing posts with label Dessau. Show all posts

Saturday, 19 March 2016

Dessau: the full report

I have uploaded the full Scenario and the After Action Report (AAR) of the combat of Dessau (October 12, 1813), finished with a draw between the French forces commanded by Souham and the Prussian 4th Brigade led by Dobschutz. The battle finished in a similar way to the real life and the Prussians reached the safety of the bridges.
You can watch the development of the battle by following the instructions for the use of the visor


The next wargaming activity will be a Scenario for Song of Drums and Shakos.

Watch this space!!!!


Wednesday, 5 August 2015

The combat of Dessau (and V)

The combat of Dessau is in its last stages:

The French are advancing in the center...
... whereas the Prussians are trying to delay the foreseeable outcoming
However, the French right forces are outflanking the Prussians...
... whereas these have shortened their line protecting the retreat of their artillery
The French have occupied all thestrongpoints of the battlefield...
... forcing the Prussians to retreat
There was not additional turns and the battle is over. The Prussian losses amounted to 7 points: 3/3rd Reserve IR; 1/4th E. Prussian IR; Fus/4th E. Prussian IR; 6 pdrs battery #6 with the General Muller killed in action. The French losses were lighter: 4 points from the 10me Hussards and the 1/145e Ligne R.
The Prussians retired from the battlefield without Imperial interference and the battle is a DRAW

Watch this space!


Share |

Thursday, 2 April 2015

The combat of Dessau (IV)

Despite the very demanding job duties, the combat of Dessau is still being fought

The 3/5st Kurmark LwIR rejects the attacks of the 3/43e Ligne at Polnitz...
... however, their comrades of the 3/3rd Reserve IR are broken by the joint attack of the French
The French reinforcements are ready to launch an attack to the Prussian left flank
... whereas the 1/145e IR is also attacking in the opposite flank
... forcing the Prussians to fall back all along their line
The outcome of the combat is near, so... watch this space!


Wednesday, 14 January 2015

The combat of Dessau (III)

The French are pressing their advance against the Prussian rearguard

The French reinforcements try to outflank the Prussian left flank
The 3/3rd Reserve IR forces back the first French assault on Polnitz
The surprised Prussian gunners are wiped out by the 12e Hussards Regiment
In the cemetery area, the Badeners are forced back by the 7th Kurkmark Landwehr Cavalry...
... whereas the 3/3rdReserve IR routs a second French attack
The Prussians are on the defensive, but the stakes are high...
Watch this space!

Share |

Wednesday, 24 December 2014

The combat of Dessau (II)

The fight near Dessau continues, with the Prussians running for the safety of the bridges, while their rearguard is facing the advancing French

The 10e Hussars is broken by the reinforced Prussian cavalry near the cemetery
Meanwhile, Delmas is trying to outflank the first Prussian defensive line
And his other brigada advances against the cemetery area
The Baden dragoons fall on the flank of the Prussian cavalry
and the French reinforcements run to catch the retreating Prussians
The Prussian flank is in danger while their rearguard faces the French.
Watch this space!


Share |

Friday, 5 December 2014

The combat of Dessau(I)

The combat of Dessau has begun. See below the first moments of the fight.

The 10e Hussards Regiment charges the Cossack screen
The first Prussian reinforcements arrive, escorting the baggage train
The Cossacks fall back and the 1st Kurkmark Landwehr Cavalry Regiment charges the Baden Dragoons 
The Baden Dragoons routs the Prussians (is a French turn)
The 10th French Hussars join to the Baden Dragoon to pursuit the routed 1st Kurkmark Landwehr Cavalry
... but the Prussians evade by falling back to the cemetery
Part of the Prussian reinforcements (Schoon's cavalry) runs to the center, while the rest (Kroos's Reserve) escorts the artillery and baggage train
The Delmas's 9th División arrives in forcé in front of Polnitz
Watch this space!


Share |

Saturday, 15 November 2014

Cossacks and their reaction to enemy fire in Lasalle


One of the main advantages of solo playing, is that you can change the rules if they do not work. During the play of the Dessau Scenario for Lasalle, I found an anomalous situation: a sort of stalemate between a Cossack screen and some advancing French infantry units. However, this is not a bug or hole in the Lasalle ruleset, but a situation derived from my home-rule about Cossacks. Lasalle does not reserve almost any role for these irregular cavalry units (they can not charge regular units ) and in the section about the Russian Army, Sam Mustafa says:
"Orders of battle for Russian armies frequently list numerous Cossack regiments, sometimes brigaded with other cavalry, or often attached to a corps cavalry structure in some way. To what degree this was theoretical remains uncertain. The Cossacks may have been present, but most likely did not participate in much formal combat. Nonetheless, I know better than to design a Napoleonic game without letting the Russian player have his Cossacks!"

I love Cossacks, so my home rule about irregular cavalry units is addressed to overcome that problem, allowing these oportunistic horsemen of the steppe to charge regular units in some situations. However, the presence of Cossacks in the battlefield, can lead to some absurd collateral situations, such the one described above. But irregular cavalry units, like the Cossacks, Kalmuks etc., usually do not stand in front of enemy fire. and many memories of the time, talked about the Cossacks being dispersed after some volleys. Therefore, I have been forced to introduce a new home rule to take into acount

Irregular cavalry units facing fire
When an irregular cavalry unit suffers a casualty from enemy fire (infantry or artillery), it immediately undergoes a Discipline Test with a -2 modifier. If it passes (i.e. it rolls a six), then it may remain in position facing the fire. If it fails, it must immediately make a fall back movement, running for a distance 2D6 BW away from the enemy.

I expect to test this rule in the Dessau scenario.
Watch this space!


Share |

Saturday, 1 November 2014

Dessau for Lasalle. The deployment

The forces are on the table and ready for the fight for the Dessau bridges.

The French advance-guard is approaching to the Prussian rearguard
The Reserve and Landwehr forces of the Prussian rearguard  deployed before Polnitz
The Landwher forces near Jonitz, watching the main bridge over the Mulde River
Dessau for Lasalle is a Scenary heavily randomised for the arrival of reinforcements so ...watch this space!


Share |

Wednesday, 15 October 2014

Dessau for Lasalle. The final terrain

This time there are only small differences between the schematic table map and the final look of the table map.
Below you can see the Scenario map and three pictures showing the table from different points of view.


Next time, the battle!


Share |

Tuesday, 7 October 2014

Dessau for Lasalle. The rules for the scenario

Dessau synagogue over the Mulde River (early 20th century)
Notes
(1) The basic duration of the game is 24 turns (3 hours). Seven dice, or six if near of an Objective (see p.67 of e-Lasalle) are used, instead five, to test Army Moral. Bonus Turns are allowed rolling 2D6 (p. 66 of the e-Lasalle book)
(2) The French are the attackers and the first side.

Deployment and Reinforcements
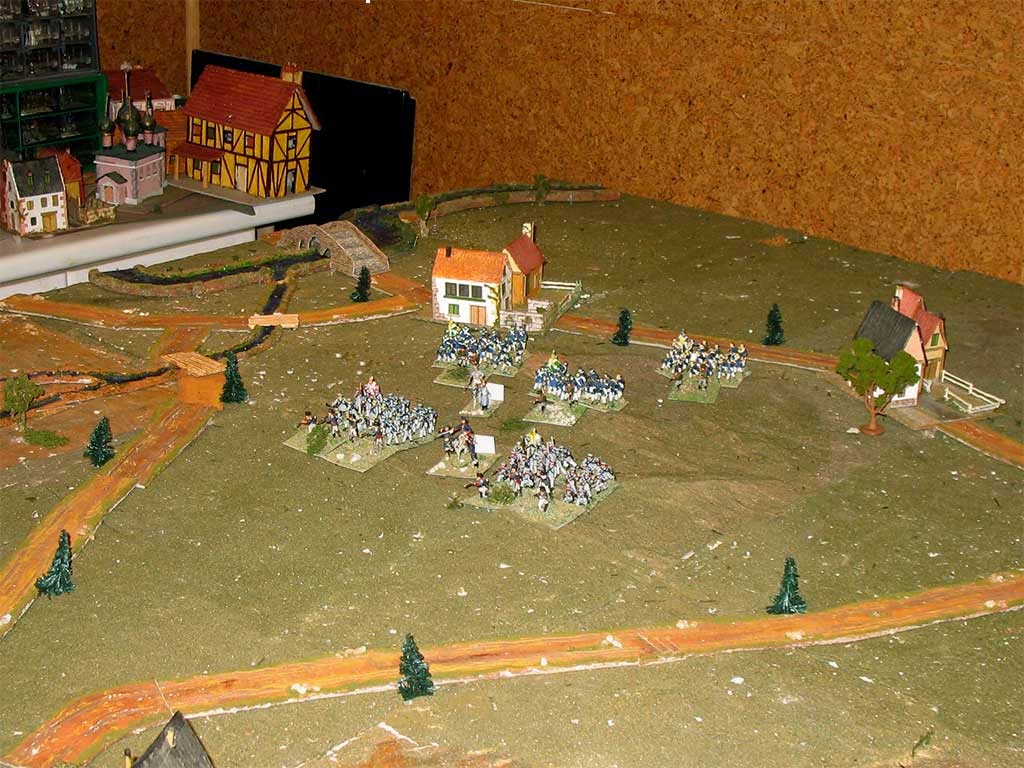
Prussian units
Muller’s rearguard is deployed in A2-B2; Kohl’s main body is at B4. Schoon’s cavalry enters in column of march formation in Turn 2nd at D3-D4 (60%-40%). Kroos’s Reserve enter in column of march formation in turn 2nd (30%), 4th (60%) or 6th (100%), at D3-D4 (40%-60%).
The Merkel’s reinforcements may enter in D4
French units
Beurmann’s advance guard is deployed in B1-C1. Each brigade of the 9th Division enter in turn 3rd (30%), 5th (60%) or 7th (100%), at B1-D3 (80%-20%).
The reinforcements may enter in: 8th division: D3-D4 (60%/40%); 6th Light Cavalry division: D3-D4 (40%-60%)
All reinforcements follow the Lasalle arrival rules (p. 91).

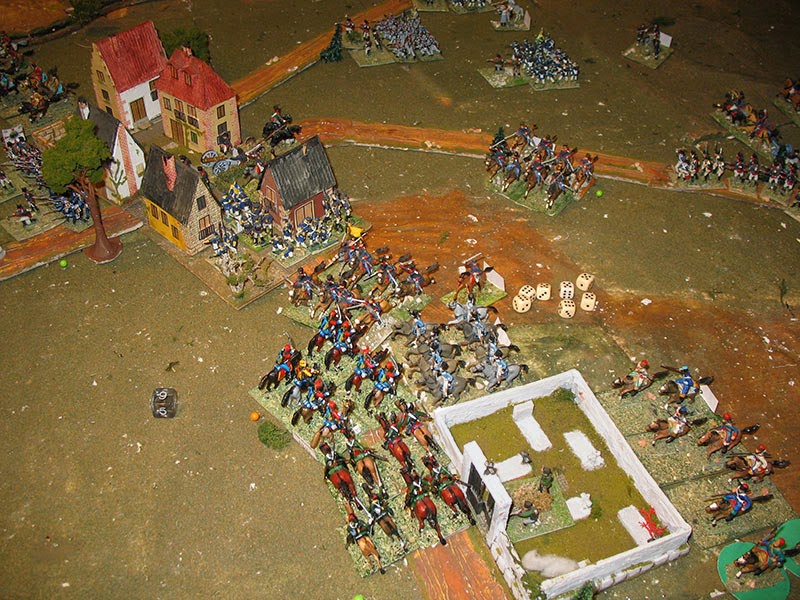
Optional rule: Irregular cavalry (Cossacks)
1) Irregular cavalry units may charge enemy units standing in 'limbered' or 'march column' formation in open terrain.
2) Irregular cavalry units must to pass a 'Discipline' test to initiate the charge in open terrain.
3) If routed in 'decisive combat', the irregular cavalry unit is immediately broken.

Optional rule: Capturing the baggage
- The wagon moves as if it were a foot artillery unit, always limbered.
- The wagon neither fires nor can charge the enemy. It has only one formation: limber. It does not block line of sight or fire. It may not be fired upon.
- Friendly units may move through it, as they move through a limbered artillery unit.
- Any enemy unit - regular or irregular - may charge the wagon, as long as that unit is eligible to charge (it is in a formation that permits it to charge, it is facing the right way, etc.)
- In its reaction phase, the wagon may attempt a Fall Back, as if it were a foot artillery limber. It succeeds on a roll of 4+, but if attacked by enemy cavalry, it must re-roll a success, even if within 1BW of friendly infantry.
- If it fails to fall back, then the wagon is automatically captured in the ensuing combat. Combat must be “resolved” against it, as if against any other unit, but the resolution consists simply of removing the wagon, advancing the enemy unit(s) that captured it 2BW, and awarding the captured Objective to the enemy.
- Any enemy unit that contacted the wagon suffers 1DISR, unless that would break it. (The men are dispersed, plundering the loot.) The unit must then take a discipline test. If it fails, it is marked in some way, showing that it is disordered and still plundering.
- A unit that is still plundering is considered “Out of Command” for the entirety of its side’s next turn.

Victory conditions
The Prussian aim is to retreat their artillery and baggage train through A4 (Dessau) or B5 (Rosslau) before the end of the game without breaking. The French aim is the opposite. The A4 and B5 road-ends are Objectives for the game (See p. 67 and 91 of rule-book).


Share |

Sunday, 5 October 2014

Dessau for Lasalle. The forces

The Nafziger's Orders of Battle Collection has been used for the OOB's. The French were taken from list 1813JJW "French III, IV, XI Army Corps & I and II Cavalry Corps Early October 1813" and the Prussians from the 1813JJX "Tauentzen's Forces by Zerbst 13 October 1813". Some units were not used, to acommodate a feasible number of units on the tablegame. As in the case of the combat of Thiessen, the names of some Prussian officers are fictitious (again, can you find these?)

French Army
Army Morale: 41,5; Morale break point: 14
15 Battalions/4 Regiments/3,5 Batteries

General Joseph Souham
C-i-C III Corps Souham (+1/-) 
23rd Light Cavalry Brigade Beurmann (+1/-)
10e Hussar Regiment R/E/Pu
Baden Dragoon Regiment S/A/Pu
3/2e Legere IR R/A/SK1
3/4e Legere IR R/A/SK1
9th Division Delmas (-/*)
1st Brigade Anthing (-/-)
2e Prov. Legere IR R/A/SK1
3/43e Ligne IR R/A/SK1
4/43e Ligne IR R/A/SK1
1/136e Ligne IR R/A/SK1
2/136e Ligne IR R/A/SK1
2nd Brigade Bergez (-/-)
1/138e Ligne IR R/A/SK1
2/138e Ligne IR R/A/SK1
3/138e Ligne IR R/A/SK1
1/145e Ligne IR R/A/SK1
2/145e Ligne IR R/A/SK1
2/9e Foot Artillery Foot 3Guns/M/1Hw
11/9e Foot Artillery Foot 3Guns/M/1Hw

Reinforcements
8th Division Brayer (-1/-)
1st Brigade Esteve (-/¶)
2/6e Legere IR R/A/SK1
3/6e Legere IR R/A/SK1
3/40e Ligen IR R/A/SK1
10/2e Foot Artillery Foot 3Guns/M/1Hw
6th Light Cavalry Division Forunier (+1/¶)
15th Light Cavalry Brigade Mouriez (+1/-)
2e Hussar Regiment R/E/Pu
12e Hussar Regiment R/A/Pu
1/2 Horse Battery Horse 2Guns/M/


Prussian Army
Army Morale: 36,5; Morale break point: 12
13 Battalions/3 Regiments/3,5 battteries/2 Cossacks
General Leopold Wilhelm von Dobschütz
C-i-C 4th Brigade Dobschutz (-/-)

Rearguard Muller (+1/-)
3/3rd Reserve IR R/A/SK2
3/5st Kurmark LwIR U/A/SK1
1st Kurkmark LWr Cavalry S/A
Karpov #2 Cossack R S/I/Pu
Ulianov #2 Cossack R S/I/Pu
1/2 Horse Battery #11 Horse 2Guns/M/

Main body Kohl (-1/*)
1/1st Kurmark LwIR U/A/SK1
2/1st Kurmark LwIR U/A/SK1
1/5st Kurmark LwIR U/A/SK1
1/3rd Reserve IR R/A/SK2
2/3rd Reserve IR R/A/SK2
Reserve Kroos (-/-)
1/8th Reserve IR R/A/SK2
2/8th Reserve IR R/A/SK2
3/8th Reserve IR R/A/SK2
6 pr Foot Battery #17 Foot 3Guns/M/1Hw
6 pr Foot Battery #27 Foot 3Guns/M/1Hw
2 Baggage train units
Cavalry Schoon (+1/-)
7th Kurkmark LWr Cavalry S/A
2nd E.Prussia Lwr Cavalry S/A

Reinforcements
Detachment Merkel (-/*)
1/4th E.Prussian IR R/E/SK2
2/4th E.Prussian IR R/E/SK2
Fus/4th E.Prussian IR R/E/SK2
6 pr Foot Battery #6 Foot 3Guns/M/1Hw

Next thing, the Scenario rules


Share |

Saturday, 4 October 2014

Dessau for Lasalle. The map


The combat of Dessau was fought in the same general area that the combat of Thiessen, i.e. near the Elbe River, but this time on the southern bank and near its confluence with the Mulde River and the twon of Dessau.
A visit to the GeoGREIF site, a map repository of the German Univesity of Greifswald, and a search for Dessau provided for several  maps, located on the MTBL sub-repositories (4140 4139-4239-4240). The subsequent downloading and assembling with Photoshop, provided a map, dated from ca. 1906:

Map of the area (ca. 1910)
The combat took place in the area around Polnitz and Jonitz, where was located the bridge over the Mulde River leading to the town of Dessau. The narrative found in Nafziger and Fabry, allows to locate the focal points of the combat, shown in the following map:

Zoom of the map with main points of the narrative
At last, the final tablemap was drawn with PowerPoint:

The Mulde R. is impassable except by the bridge at Dessau. Woods and streams are rough terrain for cavalry and infantry and impassable for artillery except by roads or bridges, respectively. Each built-up area may contain one infantry unit

Next, the troops. Watch this space!


Share |

Friday, 3 October 2014

Dessau. The next Lasalle project

As the storm is hovering over Leipzig, Napoleon has lost some precious days trying to catch the Army of Silesia at Duben (See the Duben Scenario) but Blucher has eluded him and after crossing the Mulde river (a tributary of the Elbe) has joined forces under the overall command of Bernadotte. This last, forced by the fierce Prussian general, has sent reluctantly his forces southwards heading to Leipzig, while Napoleon, with inaccurate information, is advancing northwards, only to find the weak Tauentzien's Landwehr Corps, covering the Mulde and the Elbe rivers and protecting the road to Berlin.
Napoleon ordered Ney to take Dessau and its bridges over the Elbe. The Delmas's 9th Division and the 23th Light Cavalry brigade (both from the Souham's III Corps) were sent towards the town. The French advance guard, light cavalry and some light infantry battalions, found the Cossack screen and the Prussian infantry of the 4th Brigade near Dessau (See map). After a hard fight, the French broke the weak Prussian defensive line and Tauentzien's force retired northwards. Ney do not followed him and returned in haste towards Leipzig, only to be routed along the Grande Armee at Mockern and Leipzig.

Blue arrows: French advance. Green arrows: Prussian retreat
This Lasalle Scenario is based on that combat.

Sources
- G. Clément “Campagne de 1813”. Paris 1904.
- G. Fabry ”Journal des operations du III & V Corps en 1813“. Paris, 1902
- F. Nafziger. “Napoleon at Leipzig: The Battle of Nations 1813”. The Emperor Press, Chicago, 1996
- F. Nafziger. Orders of Battle Collection. Combined Arms Research Library


Share |